How to code new keys for Mk4 VWs with Immo3 using open source software
Updated August 31, 2023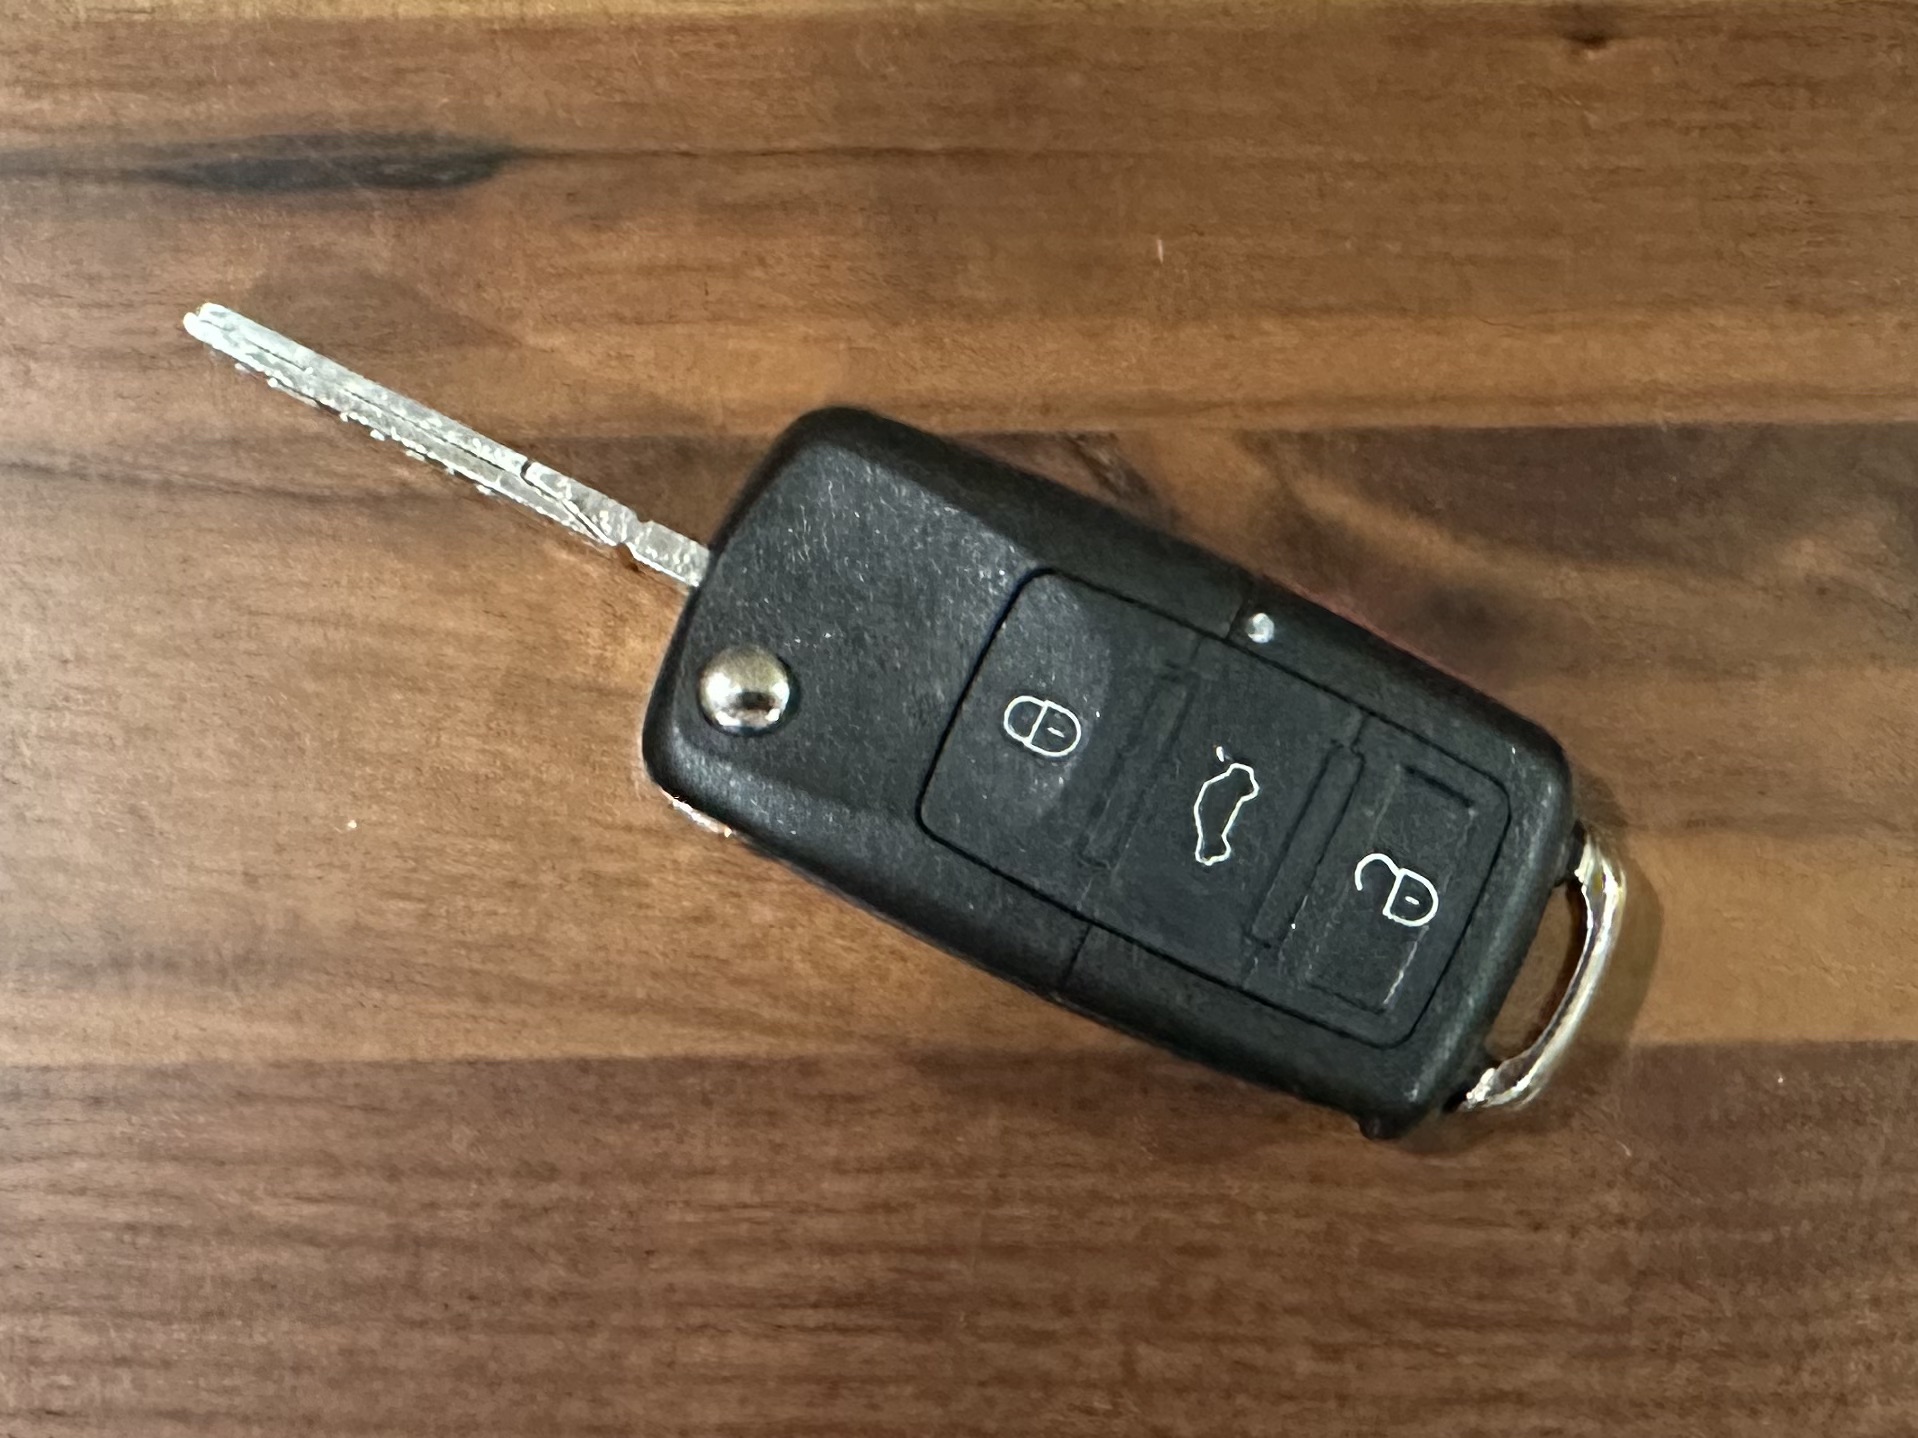
Intro
I bought a 2002 VW GTI 1.8T for $200 in July 2023 to turn in to a 24 Hours of Lemons car. The car hadn’t run in years and was in pretty rough shape, but I got it running for less than $150 in parts (and an embarrassing number of trips to the local pick-a-part).
After achieving locomotion, my priority was coding aditional keys. The car only came with one and I’m prone to stashing things in places so secure that even I never find them again.
Unfortunately, certain Mk4 VWs — I think post-2000, but don’t quote me on that — have an immobilizer that makes it impossible to simply have a new key cut. While a duplicate key will start the car, it will immediately shut down and greet the prospective pilot with the most dreaded of glyphs:
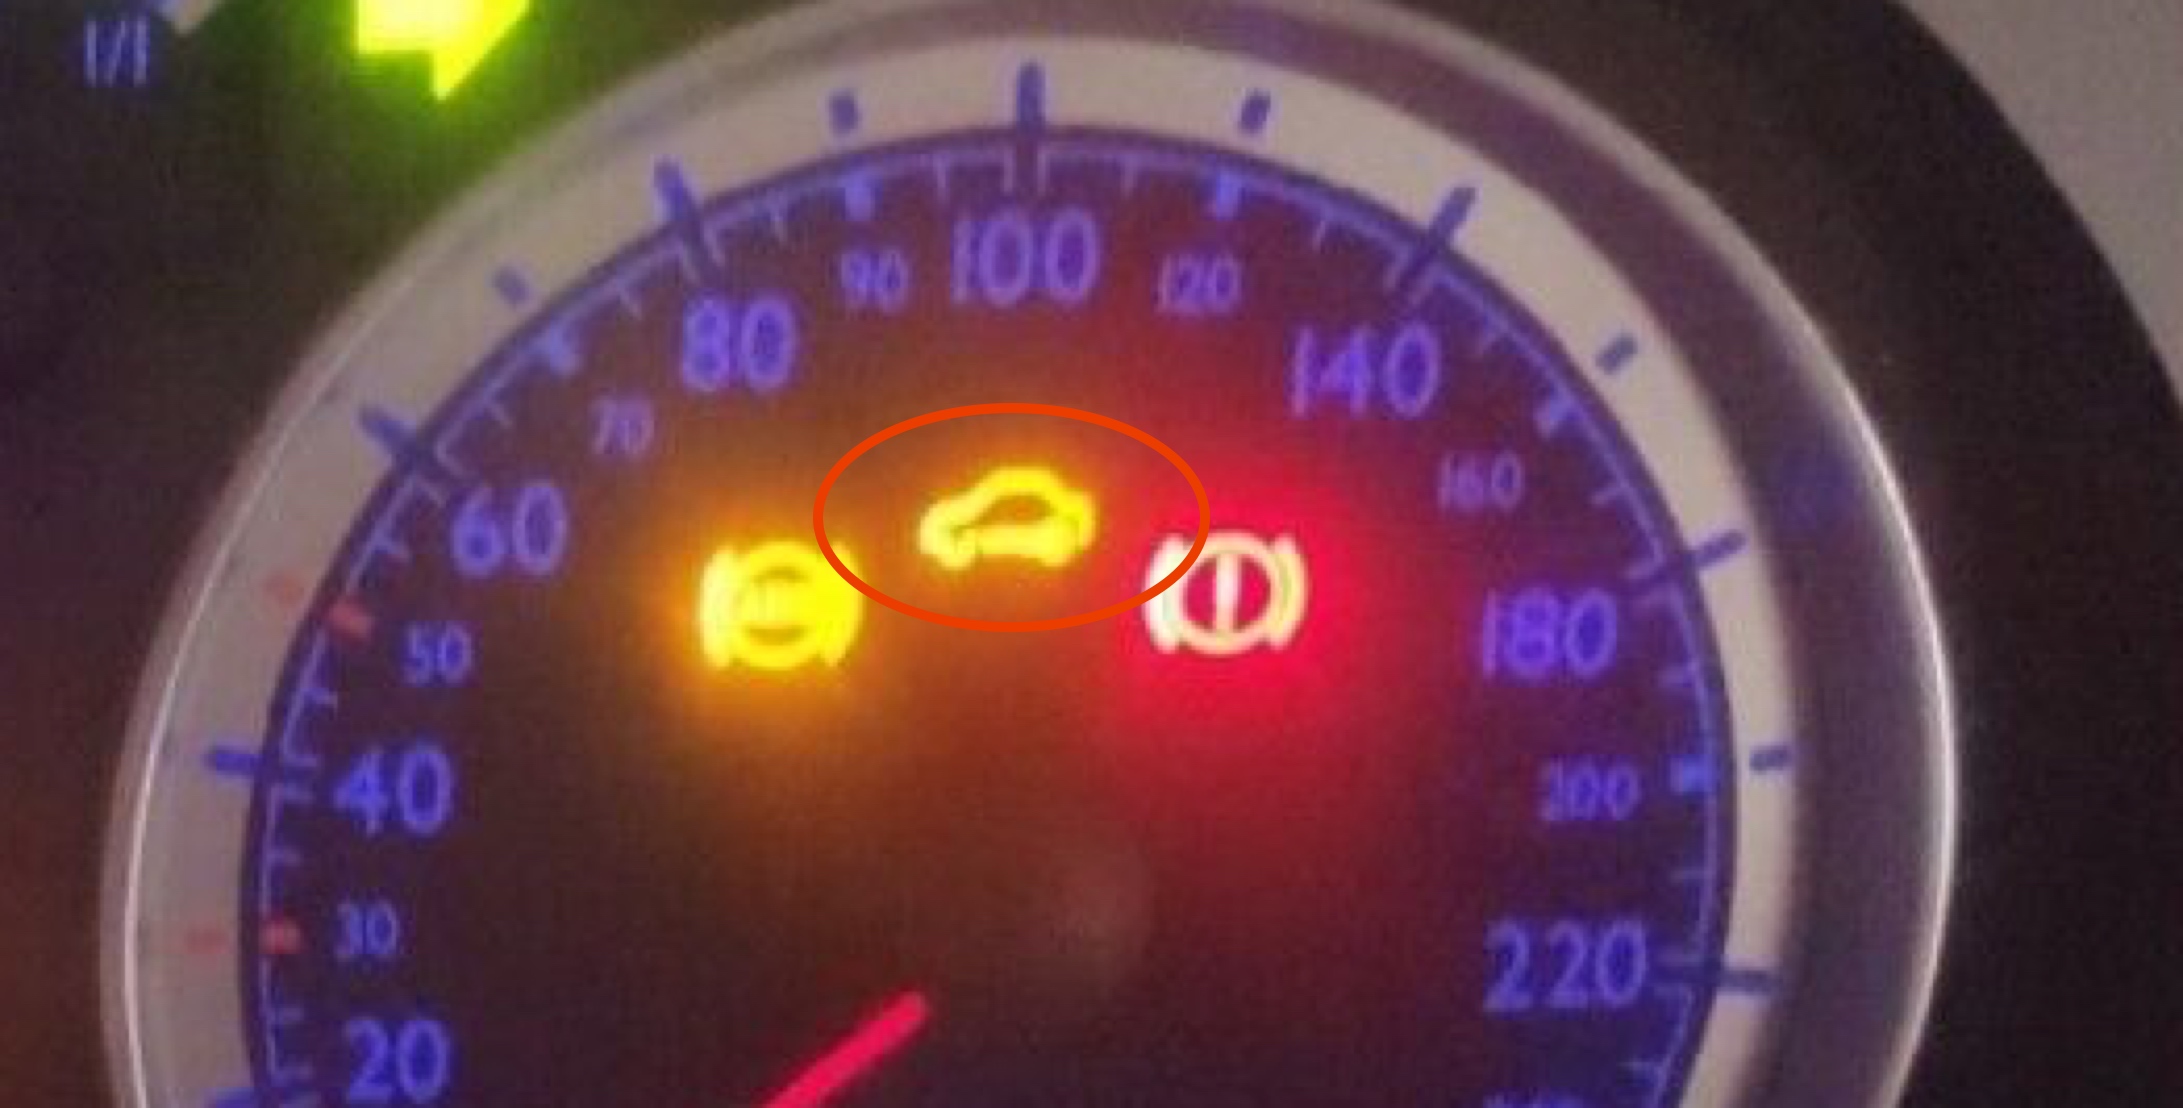
If you see this light, the immobilizer has kicked in and you’re not going anywhere until you get a transponder coded (or “adapted”) to work with the car.
There are a few tools that can do this, but they’re either quite expensive or require Windows or are locked to a VIN number or have other obnoxious restrictions. Considering this software costs more than the $200 I paid for the car, I looked for more frugal options. Call me parsitonyous.
I don’t blame you if you stop reading now.
Enter kw1281test
After a bit of searching, I came across an open source tool called kw1281test. It’s a brilliant little utility that can use dumb — and cheap! — KKL cables to talk to older VAG ECUs.
Documentation is sparse and, unlike the paid tools, kw1281test is command-line only. Still, it’s quite powerful! Most everything you’ll read from here down I’ve already added to the kw1281test wiki. If you want clear, concise, prosaic, and IMHO boring directions, check out the wiki. If you want a fuller, bordering on prolix, explanation, you’ve come to the right place!
- Laptop (or desktop very close to your VW). I did this on a Mac, but it should also work on Linux and Windows (with some slight tweaks outlined in the wiki).
- USB -> KKL cable. Most of the cheap ones have a CH340 chip that will only work on Windows. If you plan to use a Mac or Linux, you’ll need one with an FTDI chipset, like this one. Honestly, just buy an FTDI cable because it works on Windows too.
- Set of new transponders (this 4-pack is cheap and works). The transponders must be new. You cannot reuse transponders that have been used with another VW.
- USB-A to USB-C adapter (Optional if you computer has USB-A ports.)
Instructions
Step 0: Cut new keys and install transponders
Creating the physical keys is outside the scope of this DIY, but I’ll provide some high-level steps.
First, you’ll need to buy some key blanks. I bought this one without the keyless entry features for $7. There are more expensive versions that include the keyless entry features. You can also get smaller, valet-style keys.
Once you have a blank, you’ll need to get it cut by a locksmith. I don’t know of any self-service kiosks that can cut these VW keys. There are some online services that can sell and cut keys for you in one step.
You’ll also need to install your new transponders. I ended up using a dollop of hot glue to secure mine inside the key housing. There are several videos on YouTube explaining this process.
It’s worth noting that you don’t have to wait for keys to be cut before programming the transponders. You could use a single key blade and swap between the transponders (this will make more sense in Step 5).
Step 1: Install FTDI drivers
I’m going to describe installation on a Mac because that’s the primary platform I use. Instructions for Linux are available here. If you’re on windows, ¯\_(ツ)_/¯
To use kw1281test on Mac, you’ll need to be running macOS 10.4 or higher.
Download the FTDI drivers for your platform. Make sure to pay attention to your system architecture (x64 or ARM). Choose x64 if you’re on an Intel-based Mac; choose ARM for Macs with Apple silicon (M1, M2, etc.).
Once downloaded, unzip the drivers to your Desktop. This should create a folder called release.
The installation process works roughly as follows, but you may need to change the driver version number in steps 4 and 5:
- Open a Terminal window
- If the
/usr/local/libdirectory does not exist, create it:sudo mkdir /usr/local/lib - If the
/usr/local/includedirectory does not exist, create it:sudo mkdir /usr/local/include - Copy the dylib file to
/usr/local/lib:sudo cp ~/Desktop/release/build/libftd2xx.1.4.24.dylib /usr/local/lib/libftd2xx.1.4.24.dylib - Make a symbolic link:
sudo ln -sf /usr/local/lib/libftd2xx.1.4.24.dylib /usr/local/lib/libftd2xx.dylib - Copy the D2XX include file:
sudo cp ~/Desktop/release/ftd2xx.h /usr/local/include/ftd2xx.h - Copy the WinTypes include file:
sudo cp ~/Desktop/release/WinTypes.h /usr/local/include/WinTypes.h - Delete the
releasefolder from your desktop
Step 2: Find the serial number of your KKL cable
To use kw1281test, we’ll need to know the serial number of your KKL cable. On Mac, this is simple:
- Plug in your cable. If you only have USB-C ports on your mac, this is where that USB-A to USB-C adapter will be required.
- Click the Apple () icon in the top left of your menu bar
- Hold down the option (⌥) key and then click
System Information...(if you’re not holding down ⌥, this will be calledAbout This Mac) - Click
USBunder theHardwareheading in the left pane - You should see your cable in the main window under the
USB Device Treeheader - Note the 8-character serial number of your cable. If you bought the one I linked above, it’s probably just
12345678.
Step 3: Download kw1281test
Go to the kw1281test release page and download the latest version for your platform.
This should leave you with an executable called kw1281test. To keep things simple, I like to place this file in my home directory. You can do this by dragging the file into /Users/<YOUR USERNAME> or using the mv command in Terminal.
Step 4: Get your SKC
Mk4 Volkswagens have a Secret Key Code (SKC) that is required to make certain changes to the car, like coding new keys. This can be tricky to access but, fortunately, kw1281test makes it a breeze:
- Make sure your KKL cable is connected to your Mac via USB and your car via the OBD II port (look under the dash to the left of the steering wheel).
- Insert a key and put it in the ON/ACC position. Do not start the car.
- Open Terminal on your Mac. If you’ve never used Terminal before, you can find it via Spotlight or in Applications > Utilities > Terminal.
- In Terminal, type:
./kw1281test <serial number> 10400 17 GetSKC. If your serial number is12345678, you would type./kw1281test 12345678 10400 17 GetSKC. - Eventually, this will display a 5-digit SKC on your screen. If you only see 4 digits, add a 0 to the front.
Step 5: Adapt new keys
The last step is to program (or “adapt”) your new keys. The command will look like this:
./kw1281test <serial number> 10400 17 AdaptationSave 21 <number of keys> <SKC>
If your cable serial number is 12345678 (Step 2), your SKC is 01234 (Step 4), and you want to program 2 keys, your command would be ./kw1281test 12345678 10400 17 AdaptationSave 21 2 01234.
Assuming your laptop is still connected to your car:
- Adjust the above command, type it into Terminal, and hit enter.
- Take the key out of the ignition.
- Put in the first key you’d like to program – it could be the one you just removed! – and turn to the RUN/ACC/ON position, but do not start the car.
- The Immo3 light (pictured in the Intro section) should appear and eventually switch off.
- When the Immo3 light switches off, remove the key.
- Repeat steps 3-6 for each key you’d like to program.
When you’re done, test to see that your new keys are able to start the car. You’re done!
More uses for kw1281test
Basics
Adapting keys is just the start of things you can do with kw1281test. The basic structure for commands on Mac and Linux will look like this:
./kw1281test <serial number> <baud> <address> <command> <arguments>
Where:
<serial number>is the serial number of your cable (see Step 2).<baud>is the transmission speed. This will almost always be10400or9600but you can experiment if you’re having trouble.<address>is the ECU control module we’ll be talking to (e.g.,1is the ECU and17is the instrument cluster). I’ve provided a list of them below.<command>is the action you would like to take (see list below).<args>are any extra arguments needed to execute the command (see list below).
ECU control modules
| Number | Module | Baud |
|---|---|---|
| 1 | Engine/ECU | ? |
| 9 | Central electric | ? |
| 15 | Airbag | 9600 |
| 17 | Cluster | 10400/9600 |
| 19 | CAN Gateway | ? |
| 35 | Central locking | ? |
| 37 | Navigation | ? |
| 46 | Comfort module | 9600 |
| 56 | Radio | 9600 |
Commands and arguments
We already covered GetSKC and AdaptationSave in this guide, but a complete list of commands and arguments is available here. kw1281test gets really interesting when you start playing with BasicSetting – you can learn more about Basic Settings at Ross-Tech.
Contact
Did you find this post helpful? Do you have suggestions for improvement? Send me an email or edit this post on GitHub.